Office Camera Placement Guide: Lobbies, Entries, and Parking
Camera placement in a commercial office is more constrained than most deployments. Drop-ceiling tile limits, HVAC-duct interference, glass-front lobby reflections, executive-floor aesthetics, and privacy concerns all shape where cameras actually go. This guide walks through practical placement for the positions that matter most — lobby, entries, corridors, elevator landings, conference rooms, and parking — with mount heights, angles, and the common mistakes that show up at commissioning.
Bottom Line
Office camera placement follows simple rules per position: lobby cameras at 10 to 12 foot mount height angled to capture faces entering, not leaving; elevator landings at 9 to 10 feet facing the elevator doors from the corridor; stairwell cameras at the top landing facing down the stairs; conference fisheyes at the ceiling center; parking cameras at 12 to 15 feet to clear vehicle tops without sacrificing license-plate capture. Each position has a specific framing that first-draft proposals tend to miss.
Our team has commissioned office camera deployments across corporate HQs, multi-tenant buildings, law firms, medical offices, and co-working spaces. The placement rules below reflect what works in practice.
Best For
- Facilities managers and security integrators commissioning office camera systems
- Property managers reviewing camera placement in new or renovated office buildings
- Corporate security leads evaluating existing systems for coverage gaps
- IT directors responsible for the deployment side of an office surveillance project
Not For
- Warehouse, industrial, or distribution placement (different zones and sightlines)
- Residential or multifamily placement
In This Guide
Lobby and Main Entry Placement
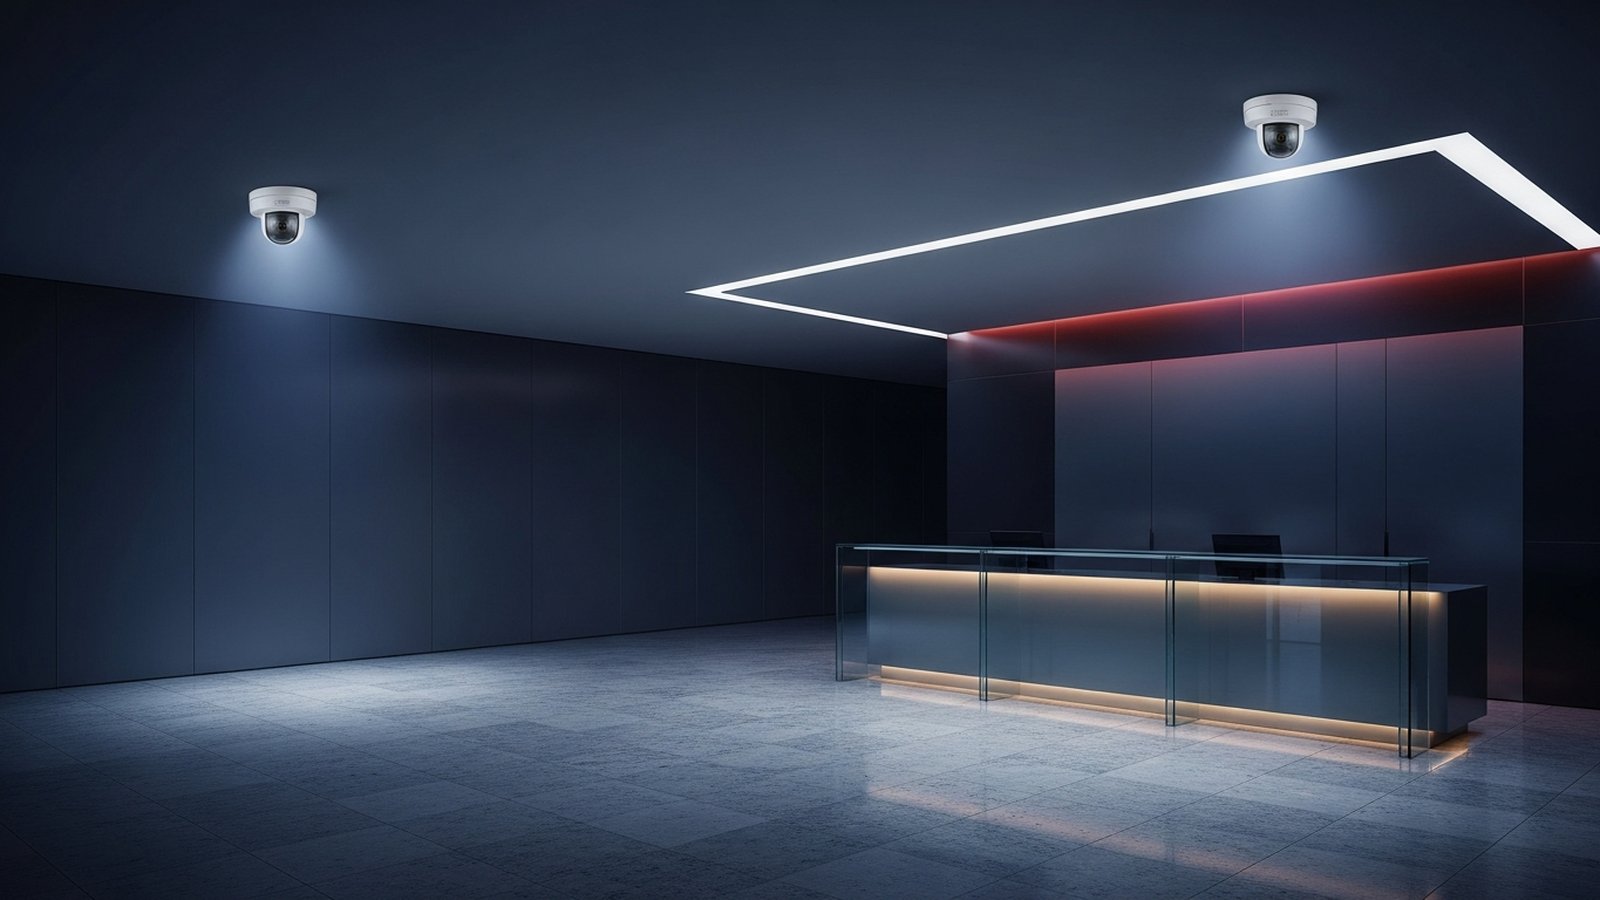
The main lobby is the highest-priority camera position in any office building. It is the one location that captures every visitor, every employee, every delivery, every after-hours entry. First-draft proposals frequently include a single camera at the lobby; we consistently add a second.
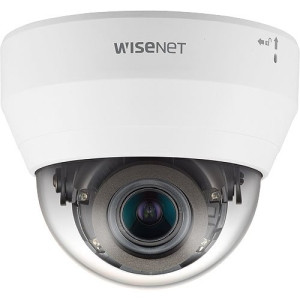
Primary lobby camera (wide view): Mount at 10 to 12 feet, angled downward 15 to 20 degrees, positioned to cover the entire lobby space from the entry door to the reception desk. Use a 4MP dome with 2.8mm to 3.6mm lens for standard lobbies up to 40 feet deep. The Hanwha QND-7082R is our default at this position.
Secondary lobby camera (focused identification): Mount at 8 to 10 feet on the side wall opposite the entry, angled to capture faces as visitors enter. Use a 4MP or 5MP dome with a longer focal length (4 to 8mm) for facial-detail capture. The Hanwha PND-A9081RF or Axis P3277-LVE works well depending on the lobby size and lighting.
Glass-front handling: Mount the primary camera away from the entry doors so direct sunlight does not hit the sensor during morning or afternoon. If the primary camera must face the entry (common in narrow lobbies), use a camera with 120dB+ WDR and Lightfinder-class low-light sensing. The Axis P3277-LVE and Hanwha PND-A9081RF handle this scenario; budget cameras will lose faces in the overexposure.
Reception-desk camera: Optional but recommended for offices with frequent visitor interactions. Mount at 7 to 9 feet above the reception desk, angled slightly forward to capture the visitor side of the counter. A discreet 4MP dome (QND-7082R) suffices; the goal is incident documentation, not facial-detail capture.
Corridor and Hallway Placement
Corridor cameras provide continuity between the entry, the elevator/stair landings, and the tenant or department spaces. Placement is straightforward but spacing is where proposals tend to go wrong.
Spacing: One camera per 80 to 120 feet of corridor at standard 10-foot ceiling heights. Longer corridors add an intermediate camera or step up to a 5MP camera (WV-S22500-V3L) that covers more ground per unit.
Mount and angle: 9 to 10 feet mount height, angled along the corridor axis rather than perpendicular. The along-corridor orientation captures anyone walking past with facial detail; perpendicular orientation wastes pixels on walls.
T-intersections and corridor merges: One camera facing each leg of the T. A single camera at the junction cannot cover all three corridor legs with usable identification detail.
Back-of-house corridors: Same placement rules as front-of-house. Back corridors are often undercovered in first-draft proposals — they are where after-hours incidents actually occur.
Elevator Landing and Stairwell Placement
Elevator and stair landings are the highest-leverage investigation positions in any multi-floor building because they capture everyone moving between floors. Placement rules:
Elevator landings: One camera per landing at every floor. Mount at 9 to 10 feet on the opposite wall from the elevator doors, angled toward the doors. The goal is to capture who is getting on and off the elevator at that floor. A 4MP dome (QND-7082R or QND-6010R) covers this position at standard ceiling heights.
Stair landings: Minimum of one camera at the top landing and one at the bottom landing of every stairwell. For mid-rise buildings (4+ floors), cover every second landing. Mount at 8 to 10 feet facing into the stair flight (top landing faces downward; bottom landing faces upward). The QND-6010R is typically sufficient here.
Do not put cameras inside elevator cabins. Cable routing is difficult, vandalism rate is high, privacy concerns are significant, and the investigation value rarely exceeds the landing cameras' coverage. Cover the landings instead.
Conference Rooms, Boardrooms, and Common Areas
Conference rooms are the other position where camera placement has unique rules. The privacy-sensitivity of in-meeting footage, combined with the aesthetic concerns of executive-facing spaces, drives specific placement choices.
Default approach — do not put a camera inside standard conference rooms. Cover the conference-room entry from a corridor camera instead. This captures who entered and when without the in-meeting privacy issues.
Large conference centers and boardrooms with assets: Use a 360-degree fisheye mounted at the ceiling center. The PNF-9010RV 12MP fisheye provides full-room coverage from a single clearly-posed camera; significantly lower privacy friction than a cluster of fixed domes. Post a small sign at the conference-room entry indicating surveillance is present — transparency reduces friction compared to discovery.
Break rooms and large common areas: One fisheye per area provides full-room coverage. For smaller break rooms or kitchenettes, cover the entry from the corridor and skip the in-room camera entirely.
Copy and print rooms: Typically skipped. The investigation value of footage in these areas is low relative to the privacy-law complexity (employees may discuss confidential topics adjacent to the copier).
Parking Deck and Exterior Placement
Parking and exterior coverage is where most office deployments over-spend on hardware and under-spend on placement. The key placement rules:
Parking deck interior: Vandal-rated indoor domes (XND-6081RV or equivalent) mounted at 12 to 15 feet on structural columns. Angle toward traffic lanes and drive aisles, not toward individual parking stalls. One camera per 40 to 50 feet of drive aisle typically provides adequate coverage.
Surface parking: Outdoor bullets (ANO-L7012R or XNO-9082R) on light-pole mounts at 12 to 15 feet. Cover drive aisles and entry points; comprehensive stall-by-stall coverage is usually impractical and rarely justified.
Main entry vehicle area: One outdoor dome (P3277-LVE) covering the vehicle approach to the main entry. Strong WDR handles the sunrise-sunset glare. Mount at 12 feet, angled to capture license plates at the turn-in without being defeated by direct sunlight.
LPR at gate or garage entry: Dedicated LPR camera (XNO-6120R/LPR or Axis Q1800-LE) at the gate or garage entry point. Mount at 8 to 10 feet, angled 15 to 30 degrees off the vehicle path. See the LPR cameras for commercial lots guide for full placement specifics.
Loading dock exterior: One outdoor bullet (ANO-L7012R) facing the dock opening from 15 to 25 feet away. One additional camera inside the dock covering the dock-to-freight-elevator path. This pair resolves most package-dispute incidents.
Trash and dumpster staging: One outdoor bullet covering the staging area. Often missed in first-draft proposals but consistently pays back through after-hours loitering and dumping-incident documentation.
Common Office Placement Mistakes
Mounting too high. Cameras at 15+ foot mount heights in standard-ceiling lobbies sacrifice facial-detail capture without adding coverage benefit. Stick to 9 to 12 feet for most interior positions.
Facing cameras out the window. Direct sunlight through glass-front lobbies overwhelms most cameras' sensors. Place cameras to look away from glass toward the lobby interior, or use Lightfinder-class WDR cameras specifically designed for glass-front scenarios.
Perpendicular corridor orientation. Cameras mounted to look across the corridor (toward the opposite wall) waste pixels on wall space. Mount along the corridor axis to capture anyone walking past with facial detail.
Missing elevator and stair landings. The single biggest gap in most first-draft office proposals. Adding 4 to 10 landing cameras (depending on building size) dramatically improves the investigation quality of the full system.
Over-covering conference rooms. A cluster of fixed domes in a conference room generates more employee pushback than one clearly-posed fisheye. Use fisheye for full-space conference coverage; use corridor cameras for entry-only coverage.
Executive-floor black-hole coverage. Some buildings cover every floor except the executive floor. The result is that executive-floor incidents have no footage — a gap that becomes visible the first time an executive or VIP is the subject of an incident. Cover executive-floor elevator landings and main corridor at minimum.
Parking-deck camera pointed at individual stalls. Wasted coverage. Aim at drive aisles and entry points instead; stall-level coverage is rarely worth the incremental cost.
Under-specified cable runs at the perimeter. Outdoor cameras at perimeter positions often exceed the 100-meter PoE limit. Plan for PoE extenders or fiber-to-copper at the remote positions rather than discovering the problem at install.
Recommended Cameras by Position
Cameras matched to the placement scenarios above. Lobby primary and identification positions, conference fisheye, landing coverage, main entry exterior, and parking deck.
Hanwha
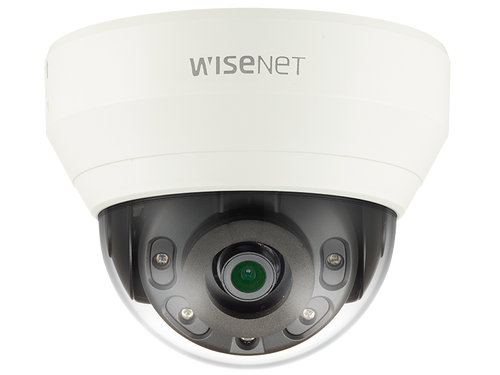
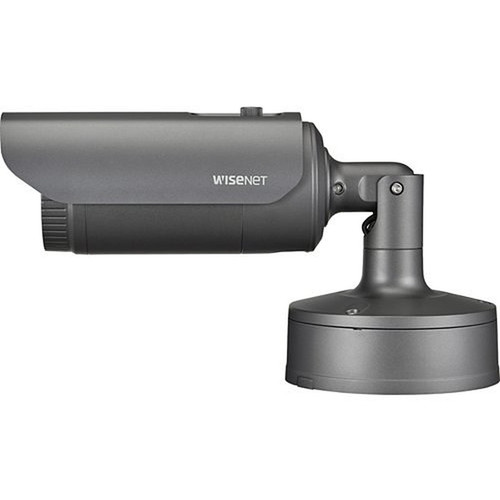
Hanwha QND-7082R 4MP Indoor IR Dome Camera
QND-7082R
4MP indoor IR dome, 10-12 ft mount height, lobby wide-view position. Discreet housing and strong WDR for standard lobby lighting.
Hanwha
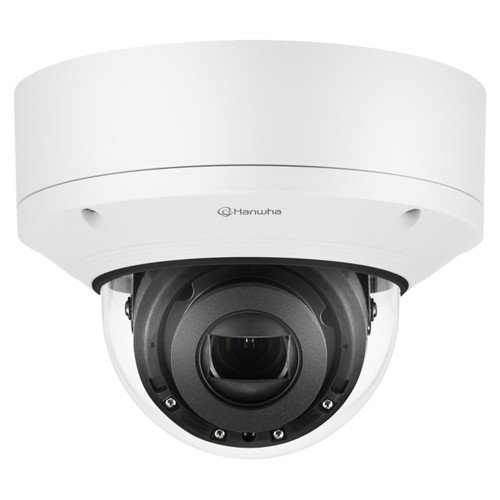
Hanwha PND-A9081RF 4K Indoor AI IR Dome IP Camera
PND-A9081RF
4K AI indoor dome for the secondary lobby position focused on facial-detail capture at the entry door.
Hanwha
Hanwha PNF-9010RV 12MP 360˚ Fisheye Camera
PNF-9010RV
12MP 360-degree fisheye at ceiling center of conference rooms. One clearly-posed camera for full-room coverage.
Hanwha
Hanwha QND-6010R 2MP Network IR Dome Camera
QND-6010R
2MP indoor IR dome for high-count landing coverage. Good value for multi-floor buildings with many landings.
Axis
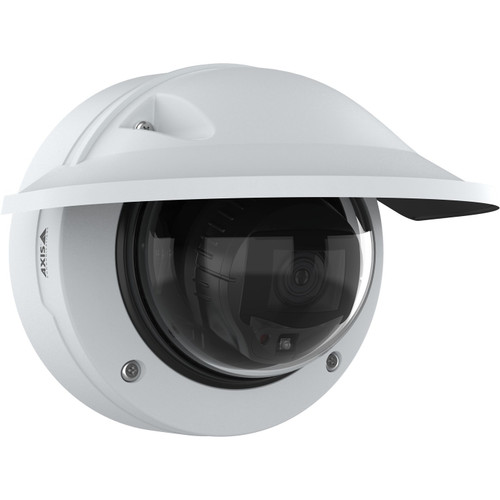
Axis P3277-LVE 5MP Outdoor AI IR Dome Camera - 03153-001
03153-001
Axis P3277-LVE for the vehicle-approach position. Lightfinder 2.0 for sunrise-sunset handling; AXIS Object Analytics for the entry area.
Hanwha
Hanwha XND-6081RV 2MP Vandal-Resistant Dome Camera
XND-6081RV
IK10 vandal-rated dome for parking-deck interior positions where occasional vehicle contact is possible. Mount at 12-15 feet on structural columns.
Also Consider: Perimeter, LPR, Recording
Complete the deployment with perimeter coverage, LPR at the garage entry, and channel-matched recording.
Hanwha
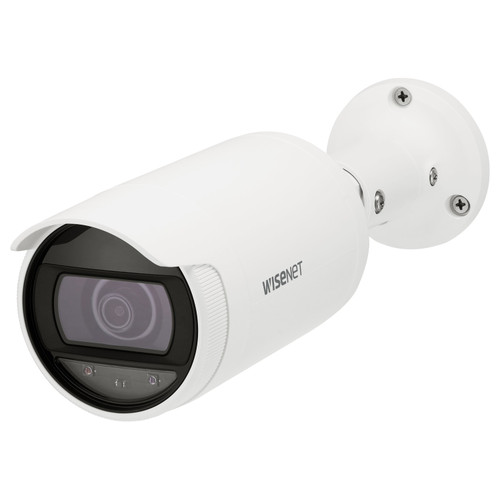
Hanwha ANO-L7012R 4MP Wide-Angle Low Light Outdoor Bullet IP Camera
ANO-L7012R
Outdoor bullet for building perimeter and secondary parking. Low-light capable; cost-effective at multi-camera perimeter.
Hanwha
Hanwha XNO-6120R/LPR 2MP License Plate Recognition Camera
XNO-6120R/LPR
2MP dedicated LPR camera at gate or garage entry. Captures license plates at 5-35 MPH with 15-45 foot capture distance.
Hanwha
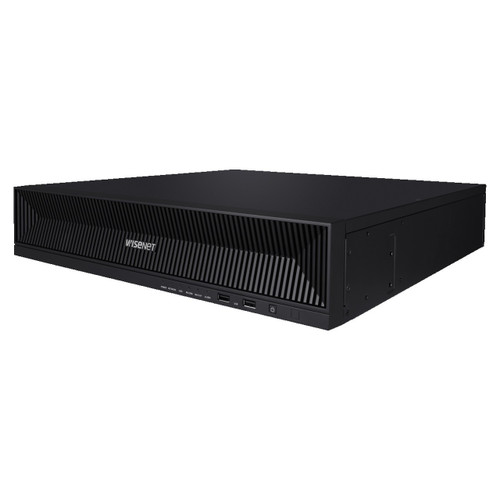
Hanwha XRN-1620B2 16-Channel 4K NVR
XRN-1620B2
16-channel 4K NVR for typical office deployments. NDAA-compliant Hanwha Wisenet with strong mobile and browser remote access.
Frequently Asked Questions
At what height should I mount cameras in a standard lobby?
10 to 12 feet for the primary lobby camera, 8 to 10 feet for the secondary identification camera. Higher mounts sacrifice facial detail; lower mounts risk tampering. Angle 15 to 20 degrees downward for the primary position.
How many cameras should each elevator landing have?
One camera per landing facing the elevator doors from the opposite wall. Mount 9 to 10 feet. A multi-elevator bank (2 to 4 cars) still needs only one well-positioned camera.
Should cameras be inside elevator cabins?
No. Cable routing is difficult, vandalism rate is high, privacy concerns are significant, and the landing cameras provide better investigation coverage. Cover landings, skip cabins.
Where do I put the camera in a conference room?
For large conference centers or boardrooms with assets, use a 360-degree fisheye at the ceiling center. For standard conference rooms, cover the entry from a corridor camera rather than placing a camera inside the room.
How do I handle glass-front lobbies with direct sunlight?
Place cameras to look away from the glass toward the lobby interior if possible. If the primary camera must face the entry, use a camera with 120dB+ WDR and Lightfinder-class low-light sensing. Axis P3277-LVE and Hanwha PND-A9081RF handle this scenario; budget cameras lose faces in the glare.
What is the right mount height for a parking deck camera?
12 to 15 feet on structural columns for indoor parking deck. Angle toward drive aisles and entry points rather than individual parking stalls. This covers the traffic flow without wasting pixels on stall-level detail.
Can I use one camera to cover multiple corridors at a T-intersection?
Not with usable identification detail. Use one camera facing each leg of the T (3 cameras at a T-intersection) for proper coverage. A single camera at the junction loses facial detail on 2 of the 3 corridors.
What's the biggest placement mistake in first-draft proposals?
Undercovering elevator and stair landings. First-draft proposals consistently include lobby and corridor coverage but miss the 4 to 10 landing cameras that would capture inter-floor movement. Adding landing cameras is the single biggest improvement most office systems can make.
No Bots, Just Experts
No bots, just experts. Free pre-sales support for every customer — product questions, BOM quotes, compatibility checks, price confirmation — typically answered within one business day. Paid services available like full system design, remote installation, and more. Know what you need? Send us your BOM, free quote. Need camera placement designed from a floor plan? That is engineering work — $175 per hour, qty 1 = 1 hour. Typical single-site placement runs 3 to 4 hours. We scope the hours with you before you purchase. Hardware buyers get up to one hour ($175) credited back against their order as a thank-you.